
With Thanksgiving right around the corner, I figured it was time for a craft! Josiah and Lily don't know a thing about Thanksgiving or turkeys yet, but they do know that when I say we're going to "color" they're in for a good time!

Browsing through the dozens of crafts on Pinterest, I came across this one (Scroll down to "Turkey Shirts" I could not find any other source for this project so if it's yours, please let me know so I can give proper credit.) I knew this would be simple enough for the kids to make with the help of myself and my brother and would get them just messy enough to enjoy themselves. I gathered some materials and set out an old table cloth on the floor...
These are the materials we used:
- Brown, red and yellow paint- I used Crayola brand paints
- Paper plate for pouring paint into
- Paper - I used a paper designed for acrylic paints because it was more durable
- Googly eyes, glue, paintbrush and/or markers for eyes and other small details
- Baby wipes or paper towels for quick cleanups
- Hands and Feet :)

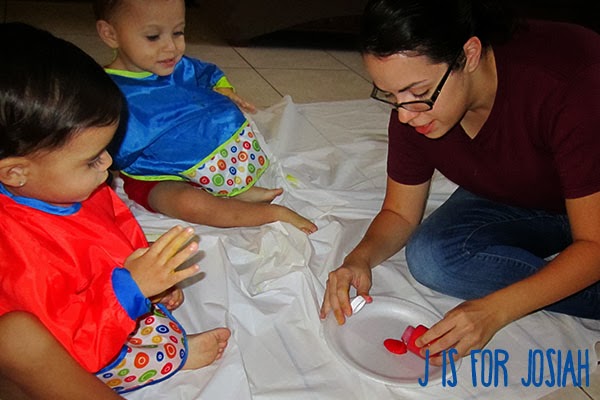
I started out by pouring some yellow paint into the paper plate and then rubbing Lily's hand in it. We made 3 hand prints on the paper to act as feathers for the Turkey, then it was Josiah's turn.

As you can see, Josiah was not too sure about what was going on.


He was not to thrilled at all when I put his hand in the paint but as soon as he realized how cool it was, he quickly got over it and had fun making his turkey.
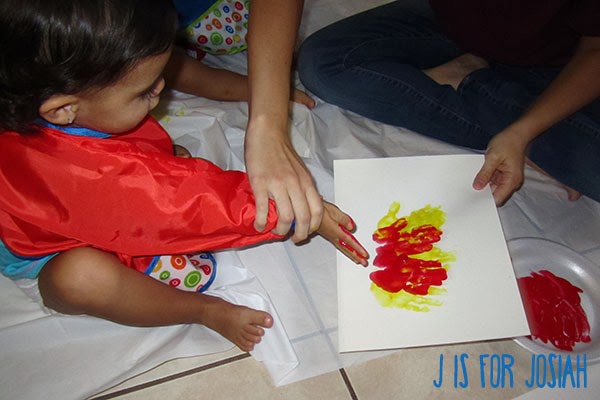
Next came the red paint. I poured some in a clean paper plate and had the kids rub their hand in it. Instead of 3 hand prints, this time we only added two and we placed them right on top of our original yellow ones.

Then came their favorite part, getting their feet covered in paint! I added brown paint to a clean plate and dipped a foot into it. The brown foot represents the turkeys body. You want the heel part of the footprint to be the turkeys head/face, so when you press it to your "feathers" make sure the paper is upside down! In other words, your child's toes should be the turkey's toes too!


Cute Right?
We left our turkeys to dry while the kids got a bath and the living room got cleaned up. They were allowed to dry all night. Not because they needed to, they were actually dry within an hour or two, but we had to get ready for church that evening. The next day, I used some white paint and my pinky to add some eyes, a beak and a gobble (or whatever that thing is called!) and when the whites of the eyes were dry, I used a black sharpie to complete them. For our first ever holiday craft, I think they came out adorable! What do you think?

There are four because I want Josiah to be able to give one to his daddy and of course it wouldn't be fair to Lily if she only made one right?
Here's a closer look at one of Josiah's turkeys.

In hindsight there are a few things I would have done differently. I should have had the kids use red first and not wipe their hands clean between colors. This would have gave us some orange and it would have made the brown part of the turkey stand out a bit more. Also, for one of Lily's turkeys, I used a paint roller to color her foot brown. As you can see in the photo above, that turkey is almost invisible! Good thing she made two also right? ;) Oh, and also make sure all the paint colors are poured and ready to go ahead of time. 2 year olds are not very patient creatures, and I'm still learning that. They were so antsy and excited as I poured the next color in front of them that they could not wait for the other to take their turn, you'll notice a few extra hand prints on some of the papers and thats why lol.
Well, I hope you enjoyed our Thanksgiving craft, and I hope you give it a try too. If you do make some hand and foot print turkeys, please share them with me!
So tell me, What kind of crafts are you doing with the little ones this Thanksgiving?
Linking up to:

No comments:
Post a Comment